GET THE PROPERTY READY
Before you begin.
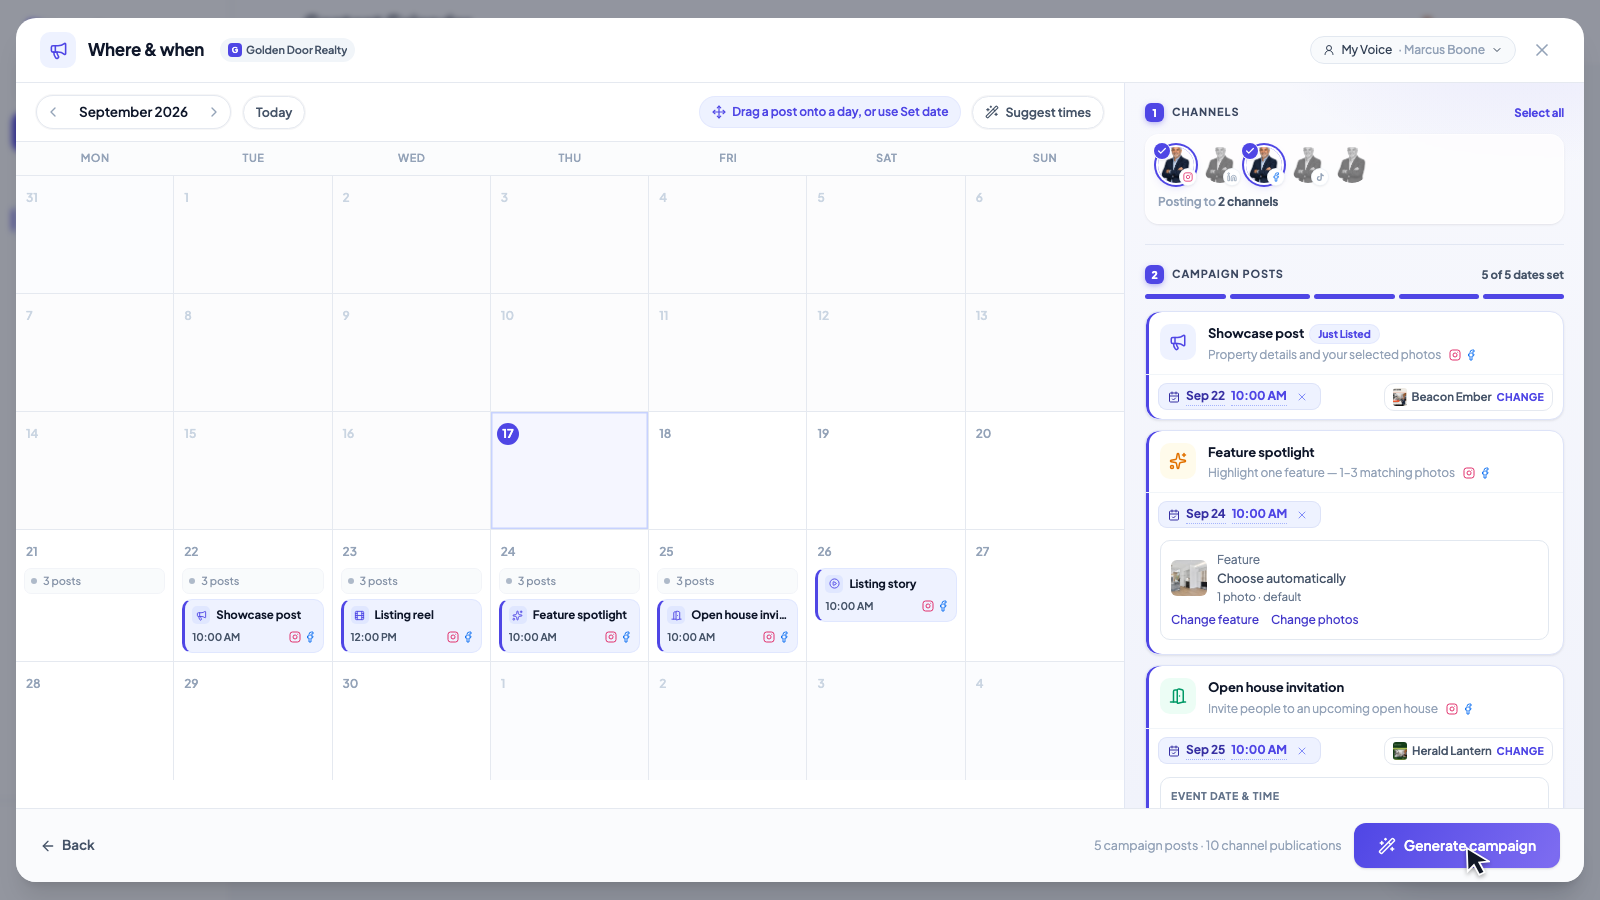
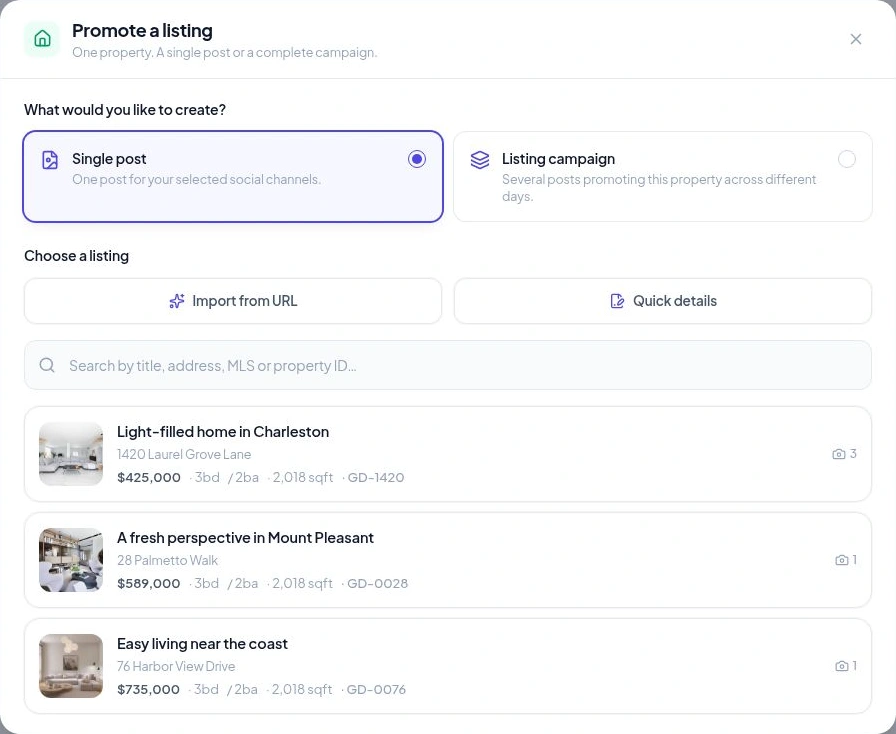
Open Create → Promote a listing. Choose Single post or Listing campaign, then select your property. You can also use Import from URL or Quick details directly in this window.
- Current listing details
Check the price, address, property facts and status. Have the date and time ready if you are promoting an open house.
- The right property photos
Choose clear images of the listing. A listing video needs at least three photos.
- Your brand and connected channels
Check your agent or company details and select the accounts you want to use.
Choose the listing and its next moment.
Under Create → Promote a listing, choose Single post and select the property you want to promote. Its saved photos and details become your starting point.
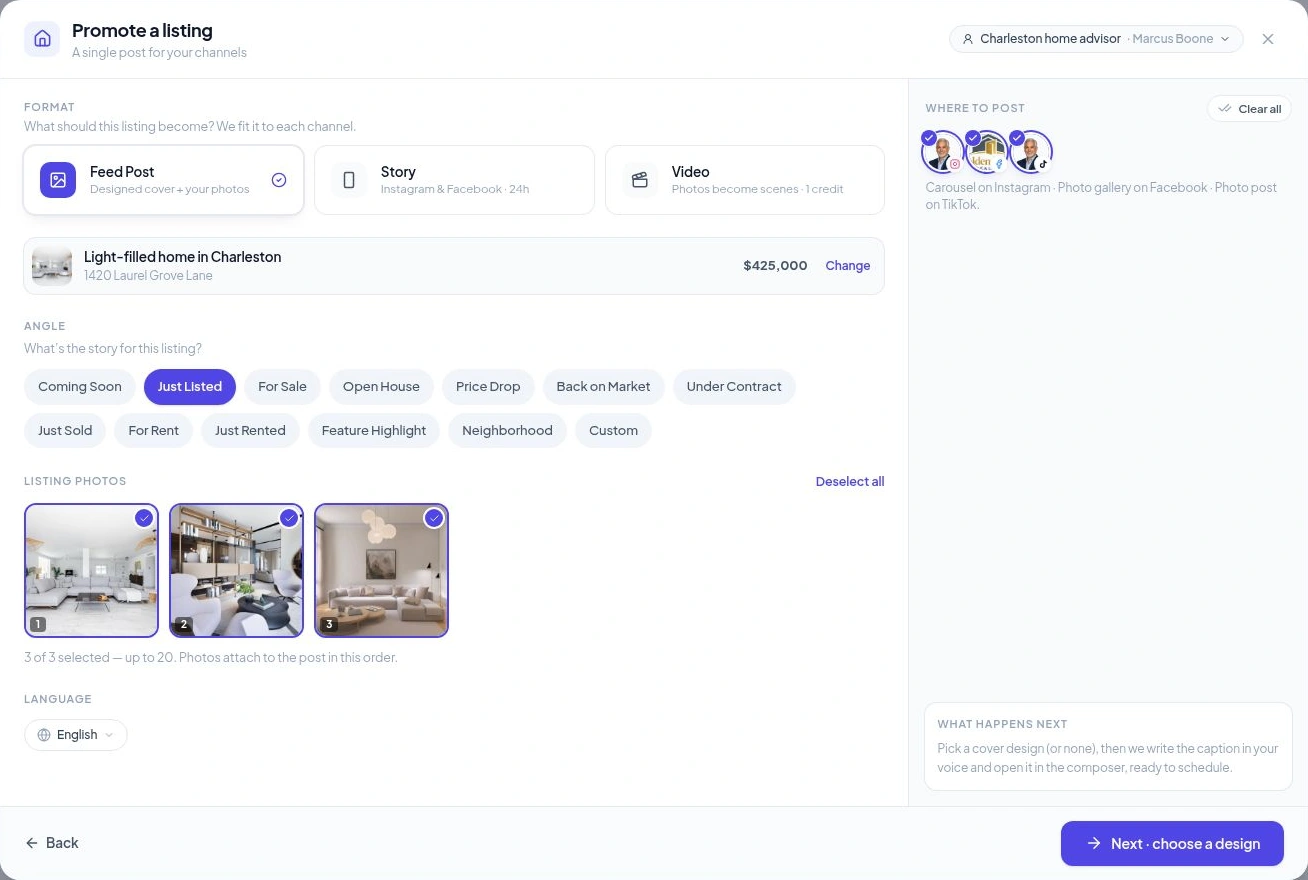
Choose the angle that fits: a new listing, an open house, a price update or another property moment. Make sure the message matches what is happening with the listing now.
Introduce the home, invite people to a showing or highlight something buyers might miss. Keep that purpose in mind as you choose the photos and caption.
Pick the format. Put your photos in order.
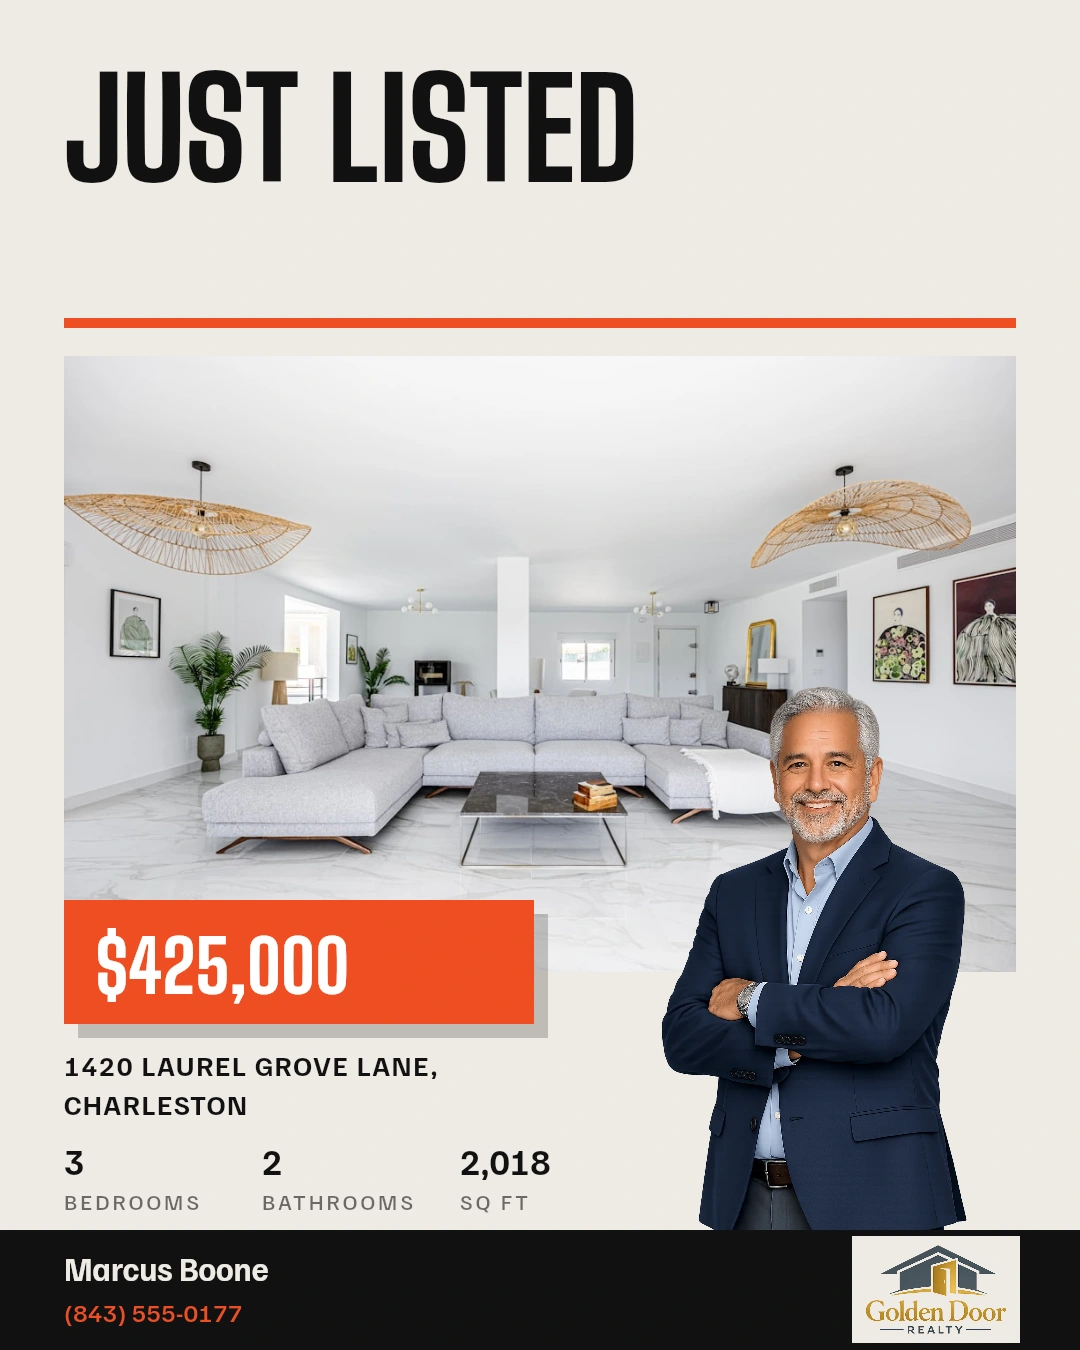
Choose Feed Post, Story or Video. Select your photos, arrange them in the order you want and choose the connected channels.
- Feed Post
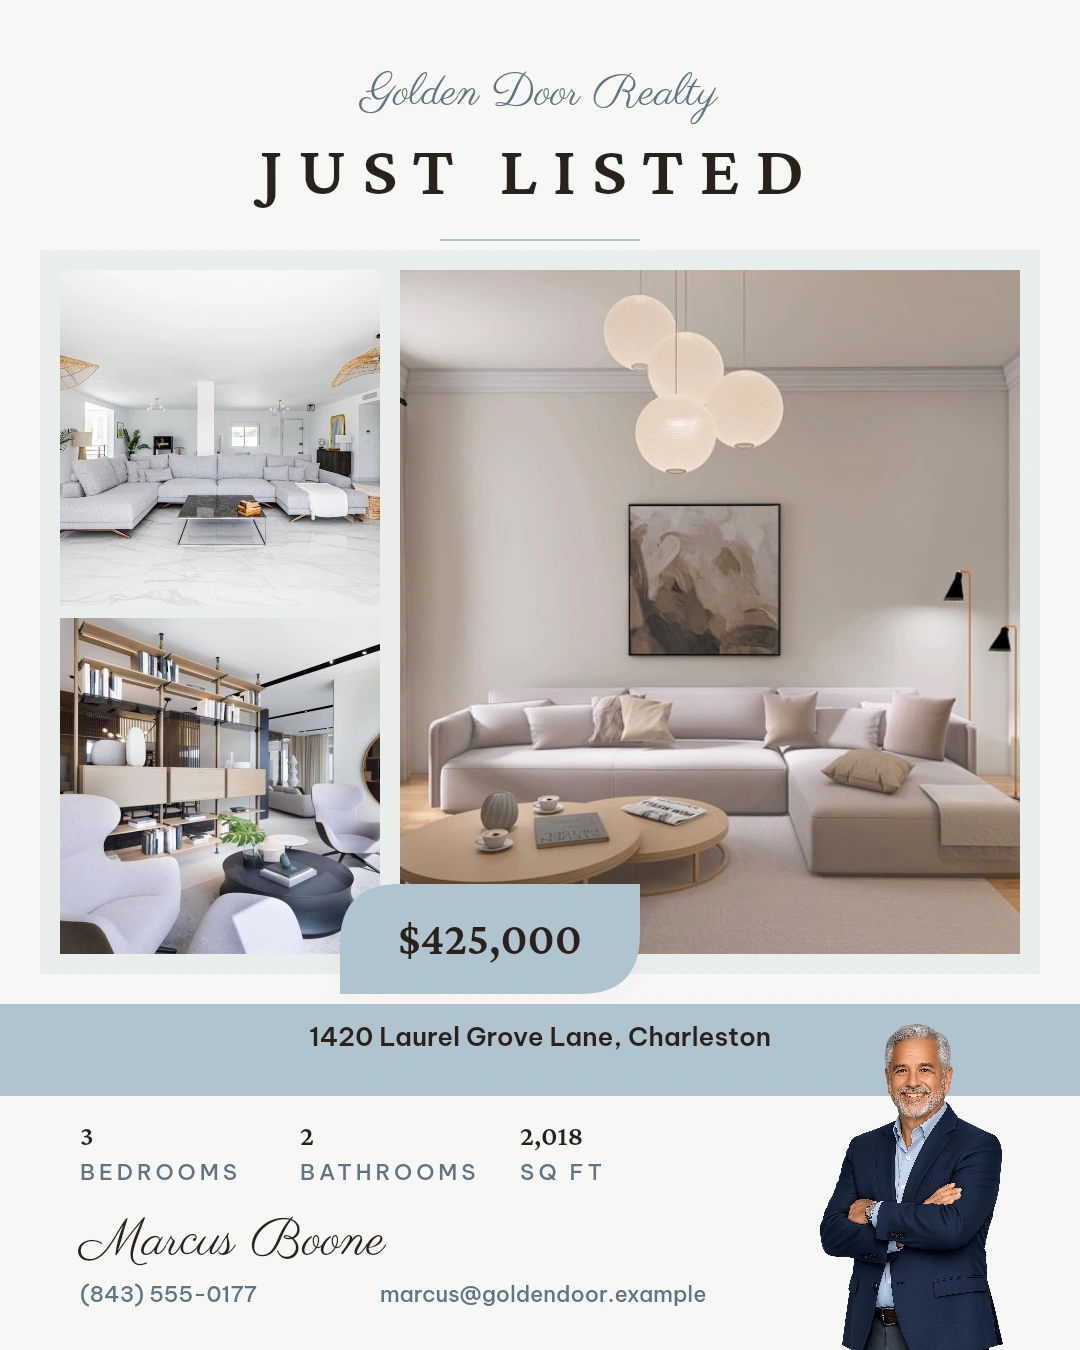
Use a designed cover followed by your selected photos, or work with the photos on their own.
- Story
Create vertical frames for Instagram and Facebook. The images carry the message; stories do not have a generated caption.
- Video
Turn at least three photos into scenes. Review the video shape for your selected channels: vertical 9:16 or landscape 16:9.
For feed posts and videos, check the caption language and voice before continuing.
Video shape follows your selected channels. For supported combinations, you can create both a vertical and a landscape version and review each one before sharing.
Choose the look that suits the property.
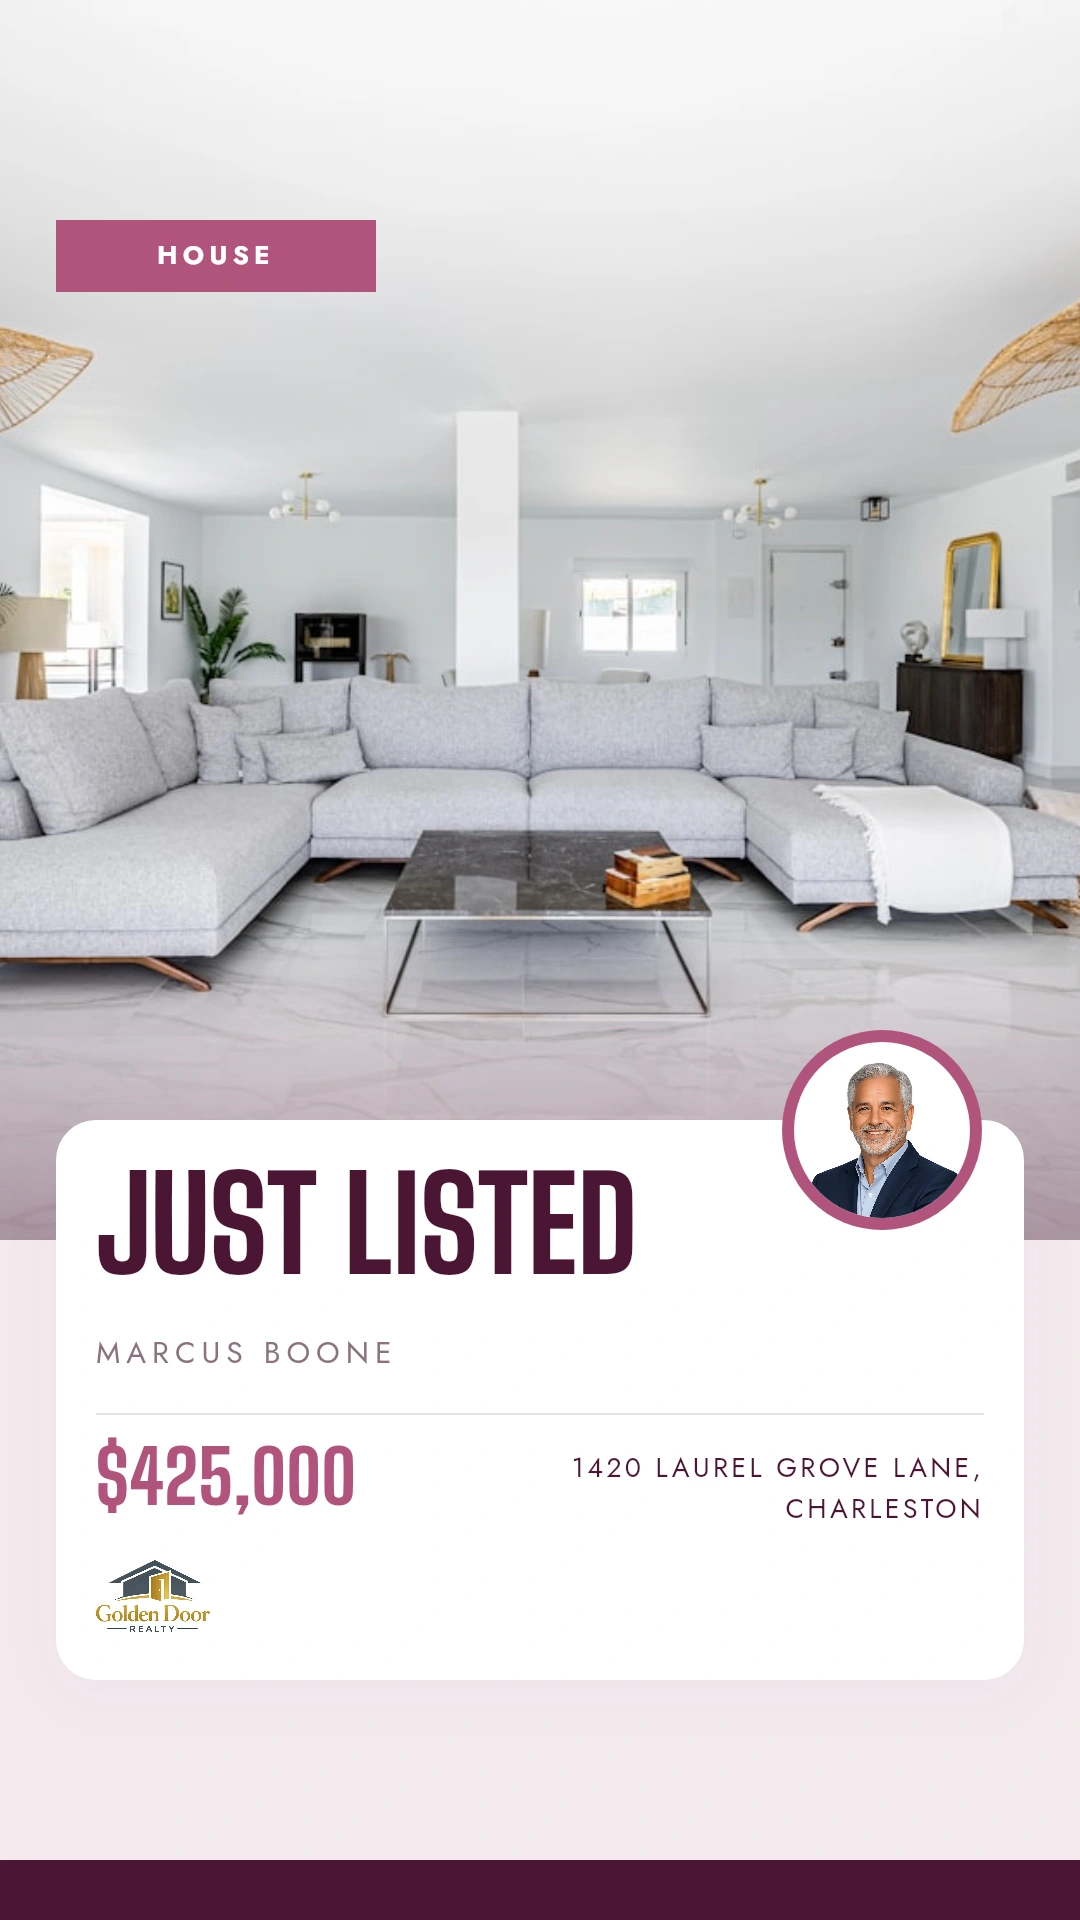
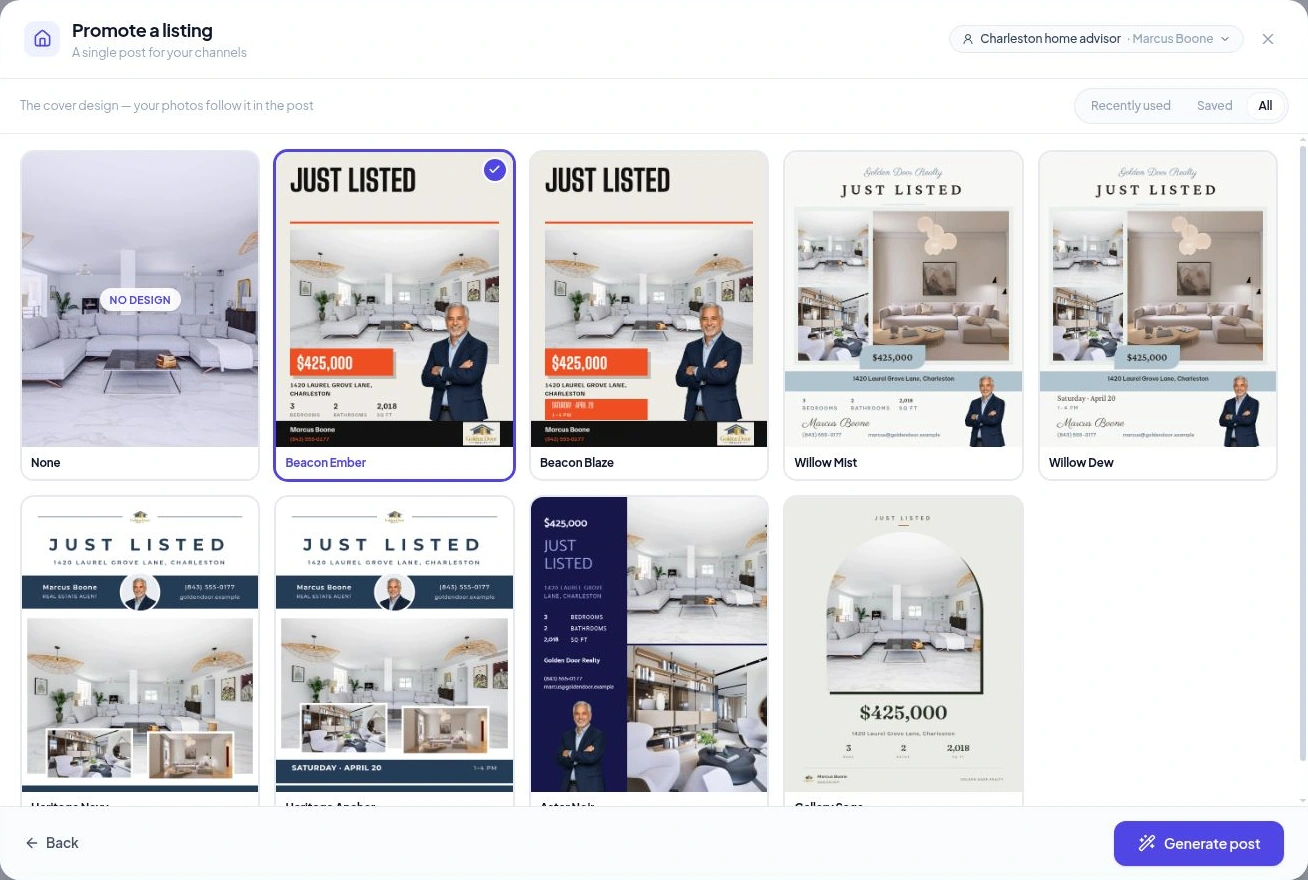
For a feed post or story, continue to choose a design. Browse the real estate templates, or select None to let your photos lead. Check the property and brand details on the cover.
Continue to overlay & music. Choose the branded look, review the photo scenes and select the music before generating. Check both versions if you are creating vertical and landscape content.
Explore the video editorGenerate. Then give it a final edit.
Choose Generate for your selected format. When the content is ready, it opens as a draft in the composer. The button reads Generate post, Generate story or Generate video for the chosen format.
Read the caption, inspect the images or video, and check the preview for each selected channel. Refine the wording so it sounds like you, and make the next step clear—for example, getting in touch to arrange a showing.
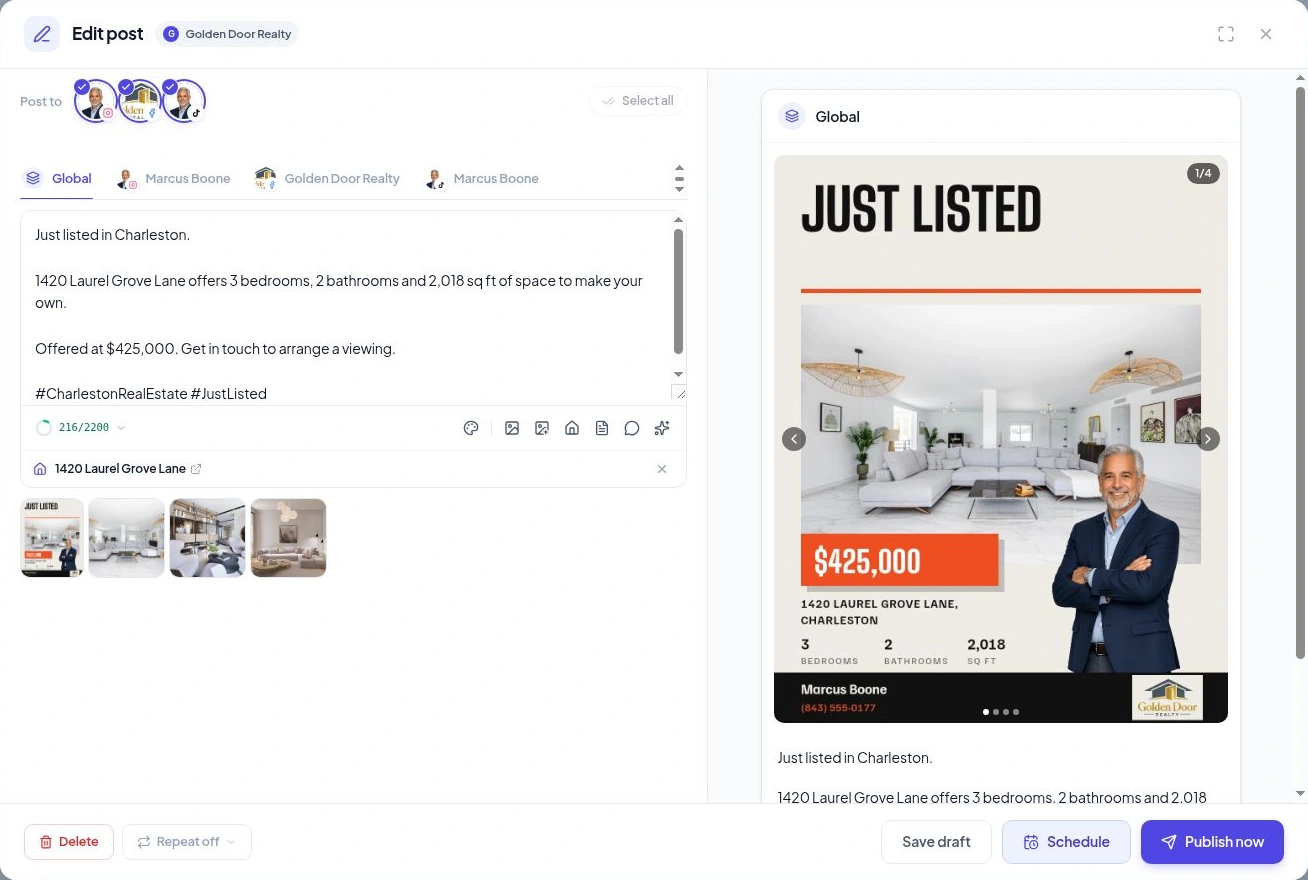
App previews show fictional property and agent details using Velisto’s actual layout.
Choose when the listing gets seen.
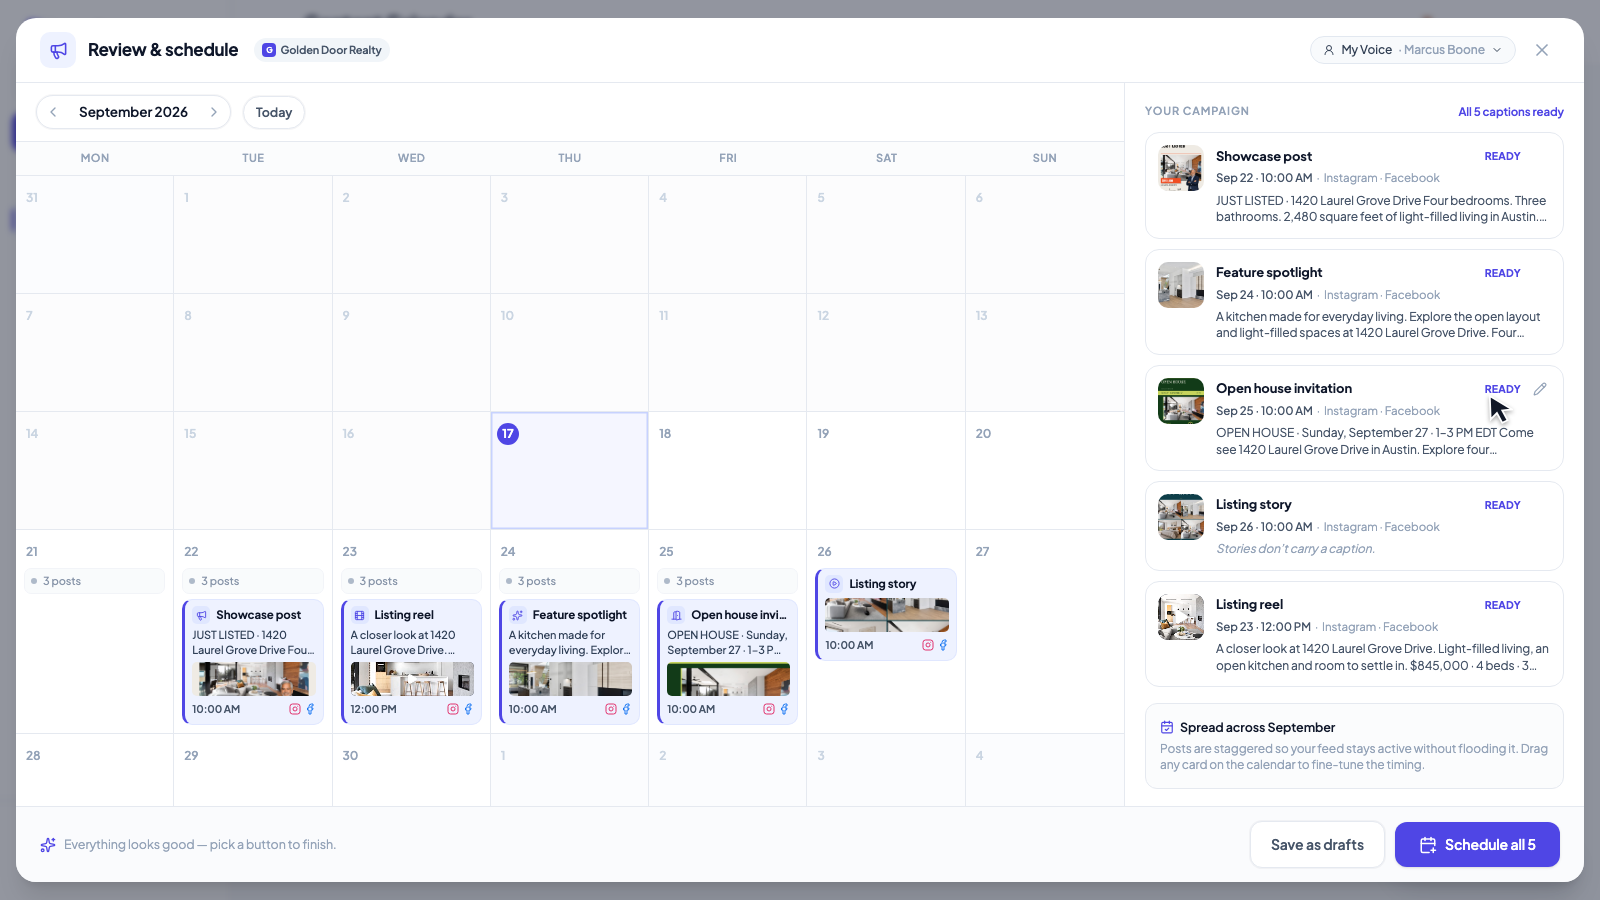
Finish in the composer. Use Publish now when the post is ready to go, choose Schedule for a future date and time, or Save draft to return later.
Check the timezone and the profiles receiving the post. If it is an open-house invitation, make sure the publishing time is before the event.
Return to the Content Calendar to see the listing alongside your advice, local posts and other campaigns. A draft remains unpublished until you schedule or publish it.
Plan a balanced week of content