
SOCIAL POST
GRAPHICS & FLYERS
Fill the content.
Make the design yours.
Fill a ready-made template in Content editor. Change the layout or create your own template in Design editor. Follow the workflow that fits what you want to make.
Two editors. Two walkthroughs.
Choose your starting point below.
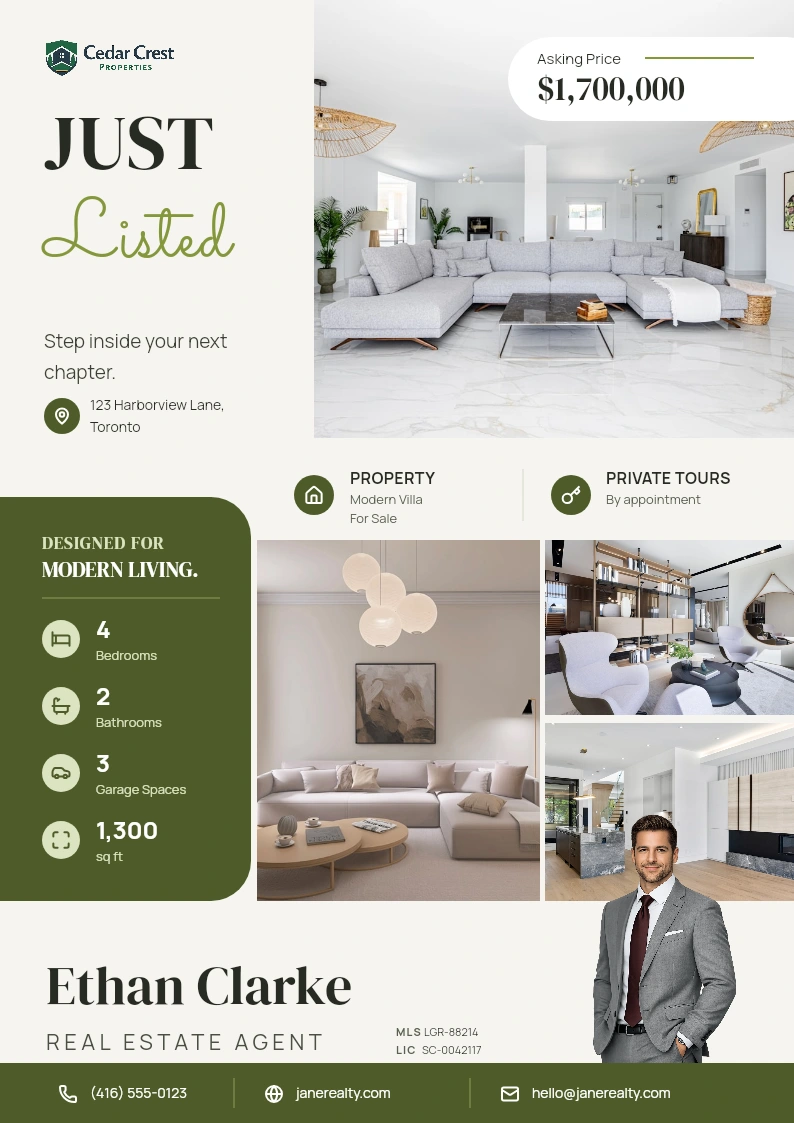
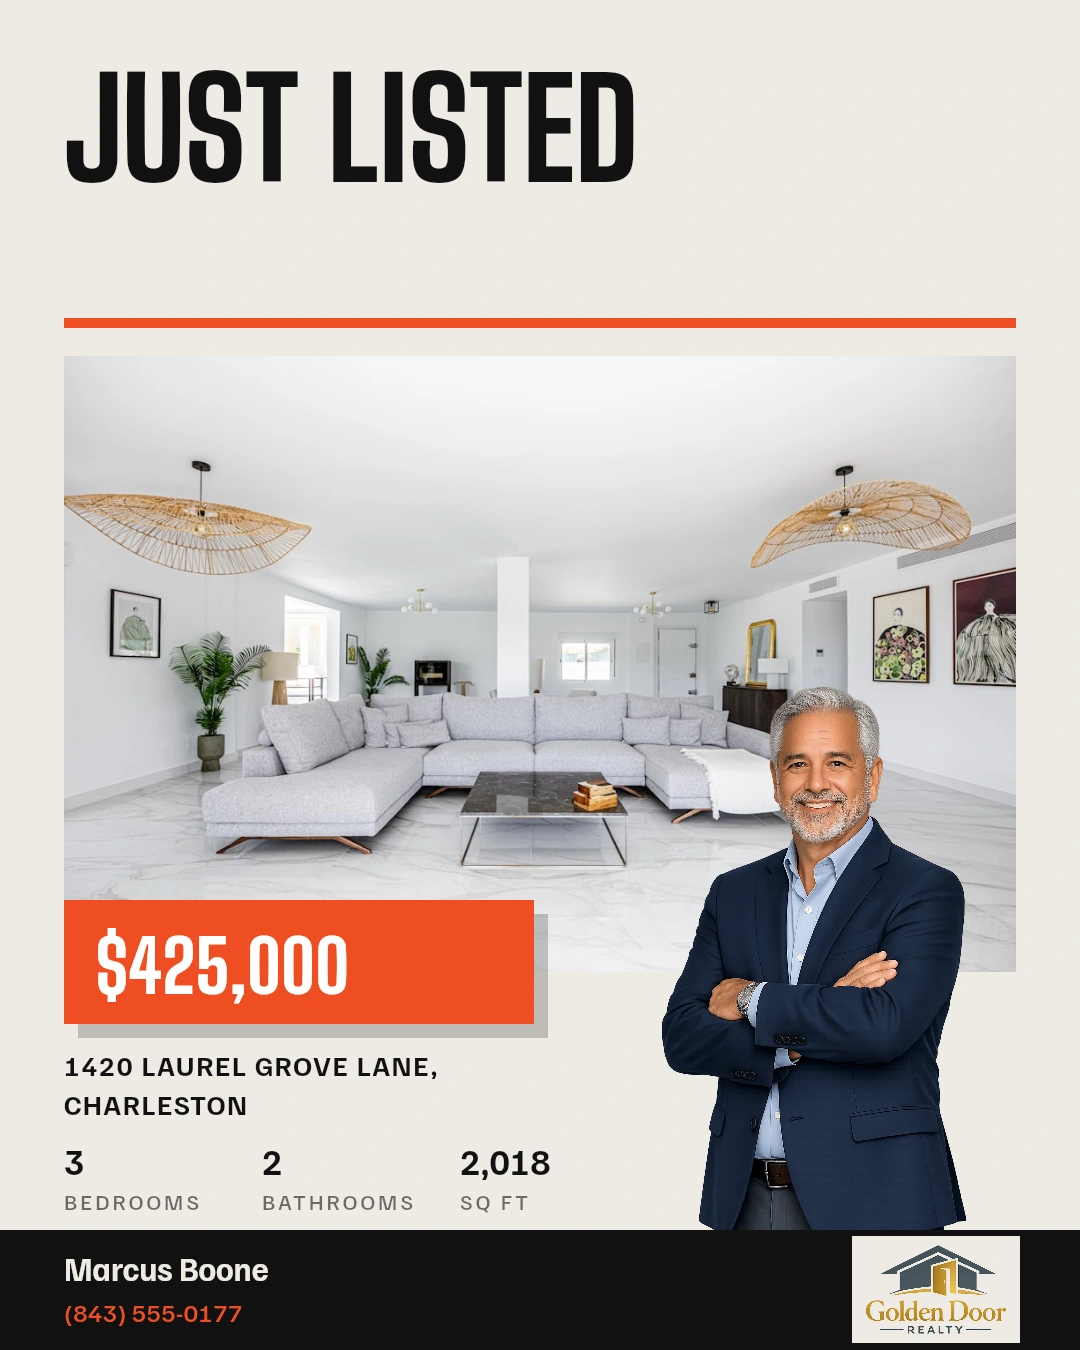 200+ real estate templates
WHAT DO YOU WANT TO DO?
CONTENT EDITOR
“I want to fill a template.”
Replace the words and photos, apply your branding and generate an image or PDF.
Follow the Content editor guideDESIGN EDITOR
“I want to change the design.”
Customize a template or start with a blank canvas. Arrange the elements and save your layout.
Follow the Design editor guideOn an editable template, Content and Design work together in the same workspace.
CONTENT EDITOR · WALKTHROUGH
From template to finished creative.
Use the prepared layout and focus on the words, photos and brand.
01
Open a template in Content.
Choose a social post, story or flyer from the template library. Open it in Content. The header shows the template name and dimensions; the fields sit on the left and the live preview is on the right.
For this walkthrough, we are using the Laurel Olive flyer. You can follow the same flow with another supported template.
02
Choose who the design is branded as.
Check Branded as in the header and choose the right persona. Available agent and workspace details fill the template’s matching brand fields.
Review the name, contact details, logo and portrait. If you change personas, check these fields again before generating.
03
Fill the Images and Text fields.
Open Images to replace the template photos. Use Upload for a file, Library for saved media or Unsplash for stock images. Under Text, edit the headline, message and other fields offered by the template.
For a property design, Pick a listing can autofill supported details. It is optional: advice, introductions and local content can use your own words and images.
04
Review the live preview and export settings.
Check the finished layout on the right as you edit. Verify the facts, image crops and contact details. For a two-sided print design, review both Front and Back.
Under Export as, choose an available PNG, JPG or PDF option. Bleed-aware PDF templates also offer Home print or Send to printer; these controls depend on the selected format.
05
Generate the file and put it to use.
Select Generate in the pinned footer. When Creative ready! appears, download the result or choose View in Content to find it again.
For an image, Use in a post opens the composer with the creative attached. PDF results are available to download. Generating the creative does not publish it.
DESIGN EDITOR · WALKTHROUGH
Make the layout work for your idea.
Take control of the canvas and save a design you can use again.
01
Customize a template or start with a blank canvas.
To change a system template, choose Customize, name your copy and open it in Design. For a template you can already edit, select the Design tab.
You can also start with a blank canvas in your chosen format. Decide on the dimensions before arranging the design.
02
Add and arrange the elements.
Use the left toolbar: Templates, Text, Image and Shapes. Add what the design needs, then select elements on the canvas to move or resize them.
Use Background to change the canvas background, Size for dimensions and Layers to work with the element order.
03
Fine-tune the selected element.
Select text or an image to open its properties on the right. Text offers Typography and Color; image controls cover replacing, cropping and fitting the photo. Position gives you precise placement.
Use the header’s Undo and Redo controls as you work. Click away or close the properties panel to see the complete design.
04
Apply the right brand and review the canvas.
Open Branding in the left toolbar. Check the persona and use the available colors, agent images, logo and contact details for this piece.
Review the whole canvas at a readable size. Check spacing, image crops and small text. If the design has multiple slides or two print sides, review each one.
05
Save the design, then generate the finished file.
Choose Save to keep working, or Save & exit to return to the template library. Name a new design when prompted. This saves your reusable template.
For a supported post, story or flyer, switch to Content to fill the final details and select Generate. If you started with a blank canvas, save it first and reopen the saved template in Content.
YOUR STARTING POINT
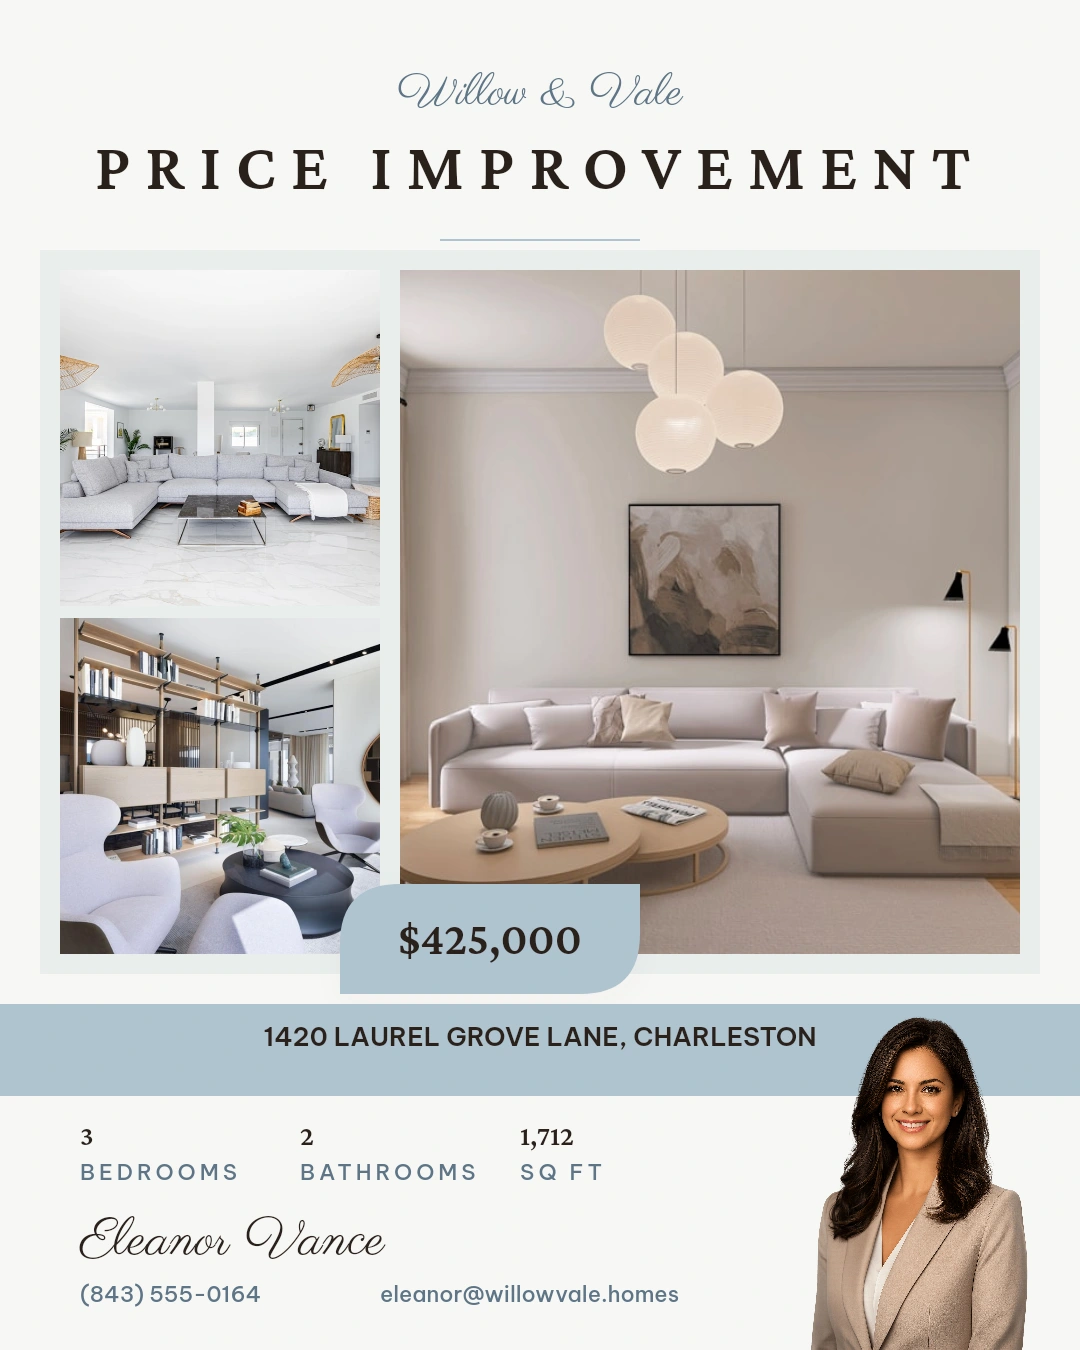
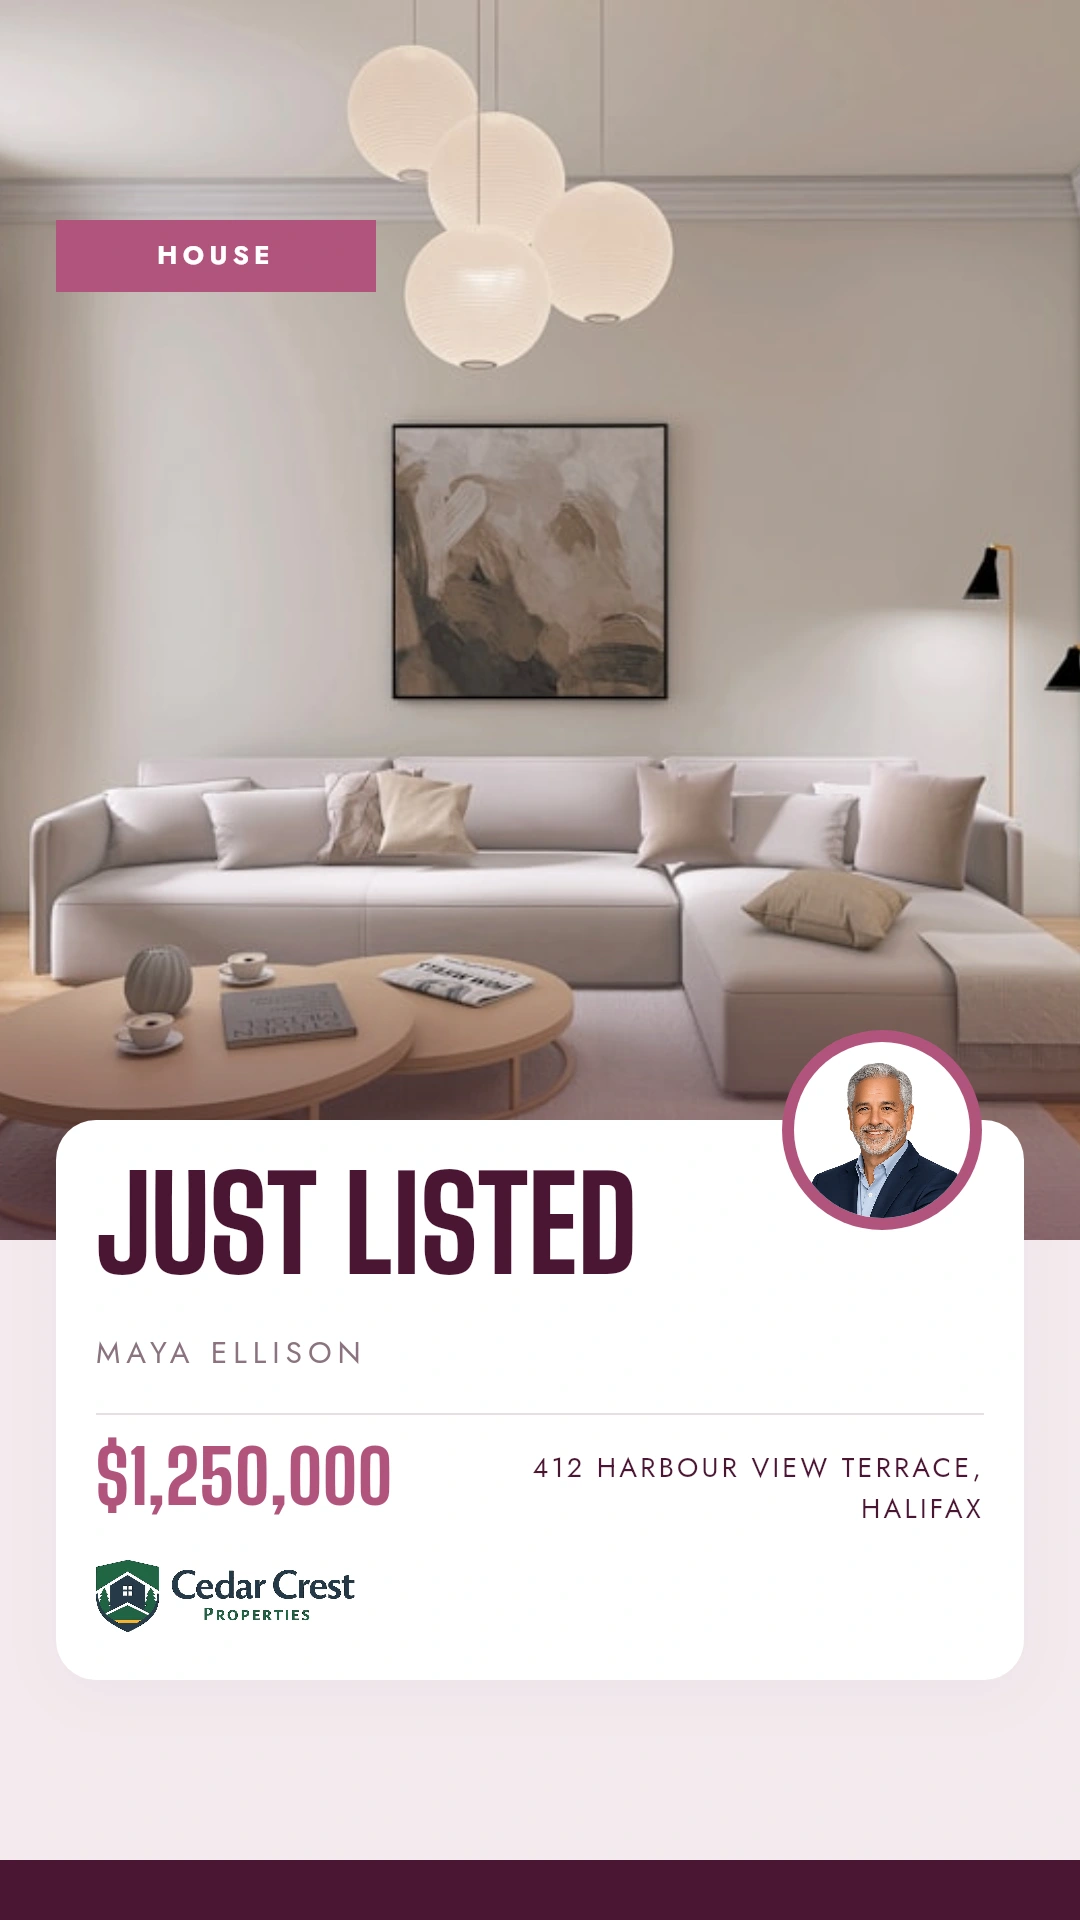
200+ templates.
Four favorites to try.
Choose the format that fits the piece you want to make.
BEFORE YOU FINISH
Save the design.
Generate the file.
These actions have different results. Choose the one you need.
Save / Save & exit
Keeps the reusable template and its layout. Save & exit returns you to the template library.
Generate
Creates the finished image or PDF from the filled template. Review it, download it or use an image in a post.
Looking at the download icon in the header? Export template downloads the last saved template file. Use Content → Generate when you need a finished social image or PDF.
- Check the active persona and contact details.
- Verify the words, facts and image crops.
- Review every slide or print side that applies.
- Choose the correct file type for social or print.
YOUR QUESTIONS, ANSWERED
A few useful answers
for both editors.
How the two workflows fit together.
Visit the FAQ hubWhich editor should I use first?
Use Content editor when the template layout already fits: fill the fields and generate the file. Start in Design editor when you want to move elements, change the layout or build a template of your own.
Why can’t I select Design on a system template?
A system template is not edited directly. Choose Customize, give your copy a name and edit that copy in Design. Editing access also depends on your role.
Can I switch between the two editors?
Yes, on supported editable templates. Changes to the canvas carry into the Content preview when you switch. Save in Design to keep the reusable template, and check the filled content before generating.
Do I need to select a listing?
No. Pick a listing is an optional autofill shortcut. You can fill the template with your own text and images for advice, local stories, introductions and other marketing.
Does Save download my finished image?
No. Save keeps the design as a reusable template. Open Content, fill the fields, choose an export format and select Generate to create the finished image or PDF.
Why do some templates have different controls?
Available modes and export options depend on the template format and your access. Blank canvases start in Design. Some specialized templates have a different workflow, and two-sided print designs add Front and Back controls.
Can I send an image straight to the composer?
Yes. After generation, choose Use in a post on an image creative. It opens the composer with the image attached so you can add a caption, choose accounts and publish or schedule. PDFs are available to download.
Where are the professional print options?
Choose PDF on a bleed-aware print template to see Home print and Send to printer. Home print uses the finished size; Send to printer includes bleed and crop marks. These options do not appear for every template.
YOUR NEXT CREATIVE
Start with a template.
Make it yours.
Create a social post, story or flyer with your own content and branding.